
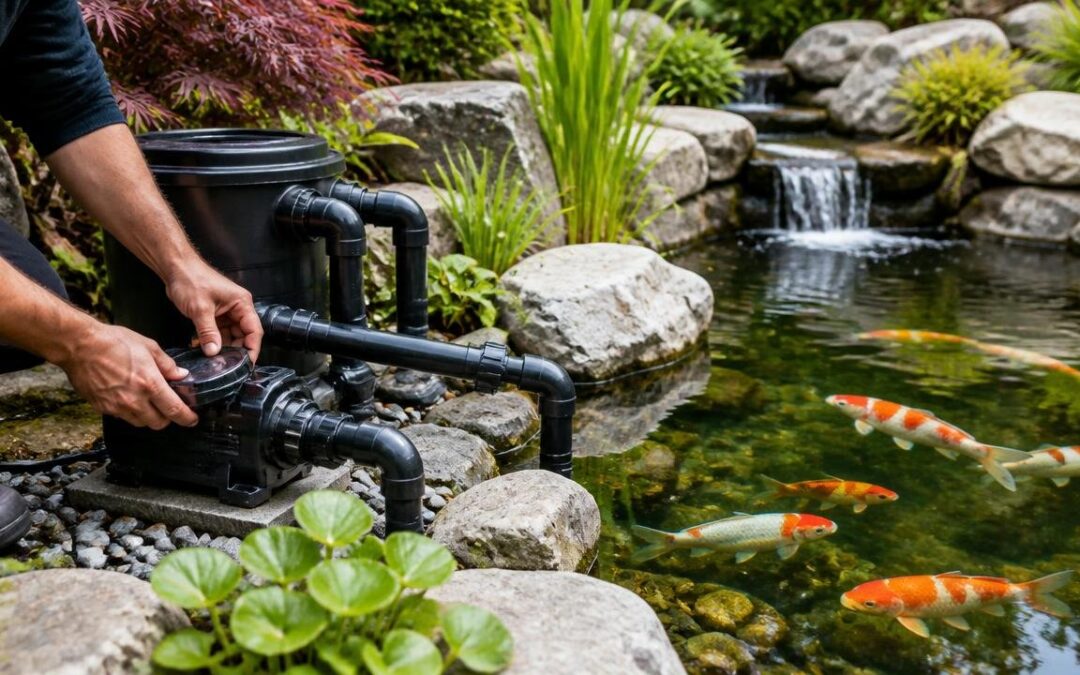
A pond pump that moves less water than expected can affect filtration, oxygen exchange, water clarity, and the overall balance of a pond. Reduced flow may come from a simple blockage, trapped air, a dirty impeller, a partially closed valve, or a restriction somewhere in the plumbing.
Use the sequence below to investigate the problem methodically. Always put safety first, and stop if the work involves electrical components, damaged wiring, difficult access, or a repair you are not comfortable performing.
1. Shut Down the System Safely
Before inspecting the pump, turn it off and disconnect it from its power source. Do not handle plugs, switches, or electrical connections with wet hands or while standing in water. Follow the equipment manufacturer’s instructions and use the appropriate ground-fault protection for pond equipment.
- Switch off the pump and any related equipment that could start unexpectedly.
- Disconnect power before removing a pump cover, strainer basket, or plumbing connection.
- Allow hot equipment to cool before handling it.
- Never run a pump dry during testing or restart it with the housing empty unless the manufacturer specifically allows it.
Professional help is required: if you see damaged cords, exposed conductors, burning smells, melted components, repeated breaker trips, or water near unsafe electrical connections.
2. Confirm the Symptom
First, determine whether the pump is actually moving less water or whether the change is occurring farther downstream. Check the return, waterfall, filter outlet, or other discharge point. Compare the current flow with a known normal condition, such as a photograph, a marked water level, or a simple timed-volume measurement when practical and safe.
Also note whether the reduction is sudden or gradual. A sudden loss of flow often points to a blockage, air problem, valve position, or electrical issue. A gradual decline may indicate accumulating debris, a dirty filter, wear, or a developing plumbing restriction.
3. Inspect the Intake and Pump Prefilter
Leaves, string algae, sediment, and other debris can restrict the pump’s intake. With power disconnected, inspect the intake screen, skimmer basket, strainer basket, or external prefilter.
- Remove debris without forcing material deeper into the intake.
- Rinse removable screens and baskets with pond water or clean water as appropriate for the equipment.
- Check for collapsed screens, damaged baskets, or objects covering the intake.
- Make sure the intake is not positioned against sludge, liner material, plants, or other obstructions.
A blocked intake can make the pump sound different, reduce circulation, and increase the risk of the pump running with insufficient water.
4. Check the Impeller
The impeller is the rotating component that moves water through many pond pumps. Fine debris, gravel, string algae, and mineral buildup can prevent it from turning freely or reduce the amount of water it moves.
After disconnecting power, open the pump housing according to the manufacturer’s instructions. Inspect the impeller and its chamber, then remove visible debris carefully. Do not use tools or excessive force that could damage the impeller, shaft, seals, or housing.
If the impeller is cracked, badly worn, seized, or difficult to remove, stop and consult the manufacturer or a qualified pond professional. Reassemble the housing and gasket correctly before testing.
5. Verify Valve and Fitting Positions
A partially closed valve can restrict flow even when the pump is operating normally. Check all valves between the pump and the discharge point, including valves near filters, waterfalls, bypasses, and maintenance drains.
- Confirm that the intended flow path is open.
- Check whether a bypass or diversion valve has been moved.
- Look for a valve handle that is difficult to turn or does not match the valve’s actual position.
- Inspect unions, fittings, and removable connections for misalignment or debris.
Make adjustments gradually and observe the result. Avoid forcing a stuck valve; a broken valve can create a larger leak or require more extensive repairs.
6. Look for Air Leaks and Loss of Prime
Air entering the suction side of a pump can interrupt water flow, create bubbles, and cause a pump to lose prime. Inspect the lid, gasket, threaded fittings, unions, hose connections, and other joints before the pump.
Common signs include gurgling, visible air bubbles, fluctuating discharge, or a pump housing that does not remain full of water. Check that the lid is seated properly, the gasket is clean and in good condition, and connections are tightened appropriately without over-tightening.
If the system requires priming, follow the pump manufacturer’s procedure. Do not allow the pump to run without adequate water. Persistent air entry may indicate a damaged gasket, cracked fitting, leaking pipe, or an installation issue.
7. Inspect Plumbing for Restrictions
Once the pump and intake appear clear, inspect the plumbing route. Kinked flexible hose, crushed pipe, accumulated sediment, excessive bends, or a clogged filter can reduce flow. Look for sections that have sagged, become pinched, or shifted since the system was installed.
- Trace the line from the pump to the return point.
- Check hose sections hidden behind rocks, plants, or equipment.
- Inspect filter inlets and outlets for debris.
- Confirm that plumbing connections have not separated internally or become obstructed.
- Check that water levels are high enough for the pump and intake arrangement.
Do not disconnect pressurized or difficult-to-access plumbing unless the system is fully shut down and you understand how to contain the water safely.
8. Compare Flow at Different Points
Comparing flow before and after individual components can help identify where the restriction begins. For example, observe the pump discharge, the filter outlet, and the final return point, using the same safe method at each location.
If flow is strong immediately after the pump but weak at the return, the restriction is likely in the filter, valve, hose, or return plumbing. If flow is weak directly at the pump, focus on the intake, prefilter, impeller, water level, priming, and pump condition.
Make only one change at a time and record what happens. This prevents several adjustments from obscuring the original cause.
9. Decide Whether the Pump Is Worn or Undersized for the Current Setup
If the intake, impeller, valves, air leaks, and plumbing are clear, the pump may be experiencing wear or the system may have changed. A worn impeller, damaged housing, electrical fault, altered plumbing route, or added equipment can affect performance.
Review the pump’s installation instructions and operating requirements rather than relying only on its label or sound. Flow is influenced by the height water must be lifted, the length and diameter of plumbing, fittings, filters, valves, and other resistance in the system.
Do not replace a pump solely because it sounds different or because a larger pump seems like an easy solution. A qualified professional can assess the complete circulation system and help prevent excessive flow, leaks, or equipment mismatch.
Owner Checks Versus Professional Help
Checks many pond owners can perform
- Powering down and disconnecting the pump safely.
- Cleaning an accessible intake screen, skimmer basket, or prefilter.
- Removing visible debris from an accessible impeller chamber.
- Checking valve positions and obvious hose kinks.
- Inspecting accessible gaskets, lids, fittings, and water levels.
- Comparing flow at safe, accessible points in the system.
Situations that call for a professional
- Damaged electrical cords, plugs, outlets, controls, or repeated breaker trips.
- Leaks inside walls, beneath paving, or in inaccessible plumbing.
- Cracked pump housings, seized motors, damaged shafts, or badly worn impellers.
- Persistent loss of prime after basic checks.
- Work requiring electrical testing, buried-pipe repair, major plumbing changes, or lifting heavy equipment.
- Any situation where water and electricity cannot be safely separated.
Restarting and Monitoring the System
After cleaning or adjusting the system, confirm that all covers, baskets, gaskets, valves, and connections are correctly installed. Fill and prime the pump as required, then restore power while keeping hands and tools away from moving or electrical parts.
Watch the pump and return for several minutes. Listen for unusual grinding, rattling, or repeated gurgling, and check for leaks. If flow remains low, shut the system down again rather than allowing the pump to operate under questionable conditions.
A safe, step-by-step inspection usually identifies simple causes without unnecessary disassembly. When the cause is not clear or electrical and structural work is involved, professional assessment is the safest next step.